Search the documentation
Enter at least 2 characters
Enter at least 2 characters
 |
CAE Fidesys 9.0 Documentation |
Local surface editing is performed mainly for the purpose of smoothing or filling gaps between adjacent components of a geometric model. It may involve deleting, moving (shifting), extending or otherwise changing the shape of surfaces in a relatively small area. In our example, we will consider local editing of the cylindrical surface of the upper cylinder by reducing its radius.
Let's re-analyze the geometry.
On the Power Tools, click on the Diagnose Geometry icon and click the Analyze button.
In the list of existing problems, in the category Close Loops one surface is visible: Surface 41. It is formed by curves, which at the points of maximum convergence are located at a very small distance from each other.
In the Power Tools menu, press the  (since you won't be tweaking the 41 surface, it's
not necessary to highlight it with color).
(since you won't be tweaking the 41 surface, it's
not necessary to highlight it with color).
Further actions are carried out using the Command Panel, which in this case takes the form:
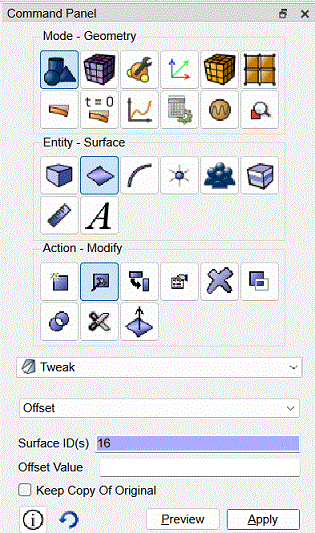
Fig. 30 - View of the Command Bar for working with surface 16.
In the Surface ID(s) input window, specify 16 by typing this number or selecting the surface by clicking in the graphics window.
Surface 16 is a cylindrical surface that will be subjected to a shear for the purpose of local correction of surface 41. Below, surface 16 is highlighted in orange:
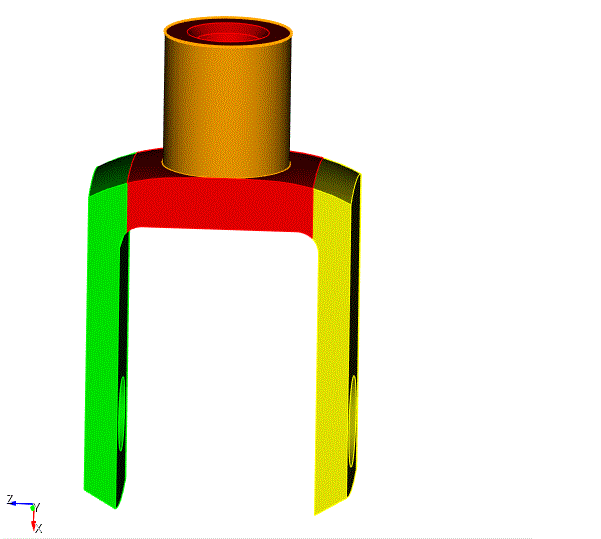
Fig. 31 - Selecting surface 16.
In the Offset Value input window, specify the value -0.9.
The offset value is relative; it shows the ratio of the specified size to the current one. Thus, -0.9 means decreasing the radius by 10%.
Click Apply.
The image of the corrected model in the graphics window is presented below. It is evident that the cylinder has been "shrinked" in the radial direction; at the same time, the gap between the curves forming the surface 41 has increased.
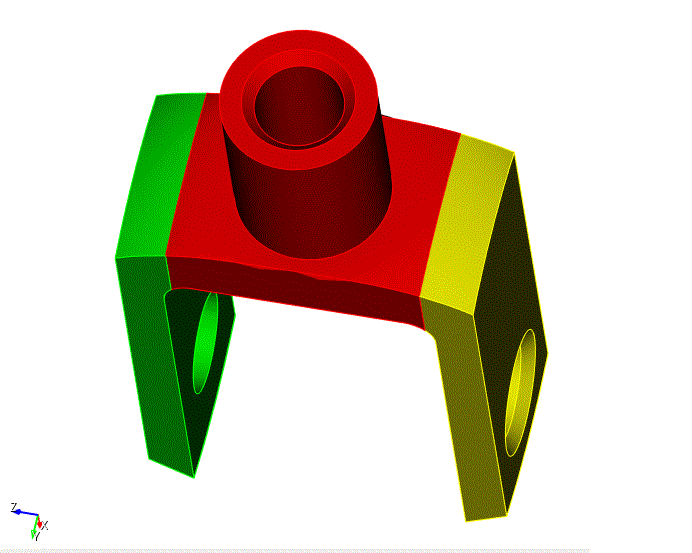
Fig. 32 - Geometric model after correction of surface 16.

