Search the documentation
Enter at least 2 characters
Enter at least 2 characters
 |
CAE Fidesys 9.0 Documentation |
Some surfaces present in the geometric model may be too small for analysis - in this case they should be removed. In the example under consideration, surfaces 15 and 17 fall into this category, since the distances between the curves that form them are smaller than the desired size of the finite elements. You can remove these surfaces by extending other surfaces adjacent to them until they intersect.
Rotate the model as follows:
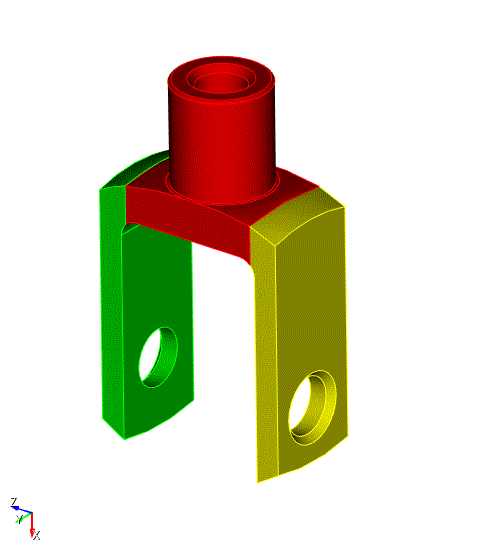
Fig. 25 - geometric model.
On the Power Tools click on the Diagnose Geometry icon and click the Analyze button.
You can see that in the list of existing problems there is a category Close Loops, which includes two small surfaces: Surface 17 and Surface 15.
Right-click on surface 17.
On the additional panel that appears, select the option Remove Surface..
or
In the Power Tools menu, click the  (Delete volumes) button.
Small surface 17 is removed from the geometric model:
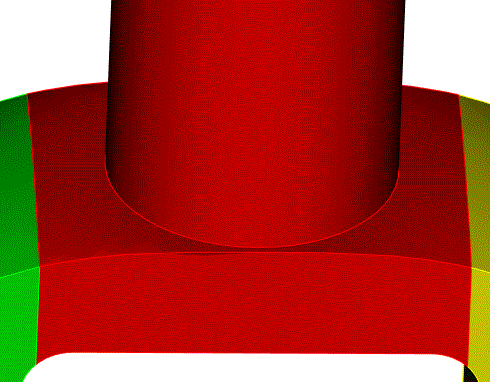
Fig. 26 - View of the geometric model after deleting the small surface.
It should be noted that the above actions can also be performed using the Command Bar. Do them with another small surface 15:
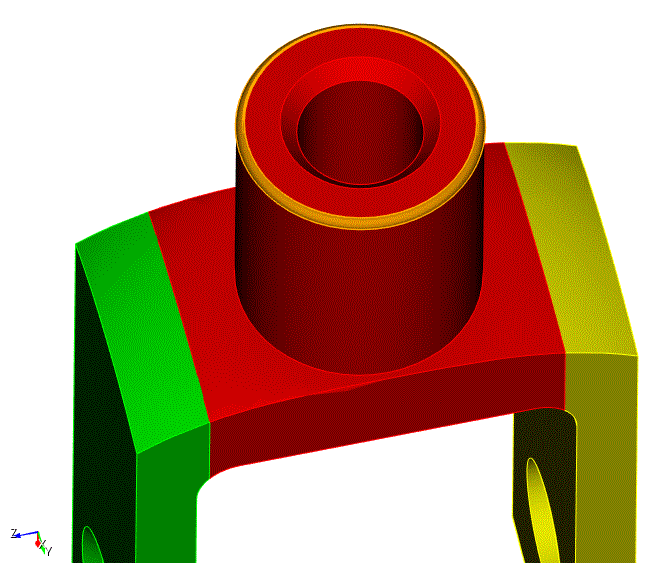
Figure 27 - Small Surface 15.
Make sure that the ID of this surface appears in the Surface ID(s) input box as shown below.
Click Apply.
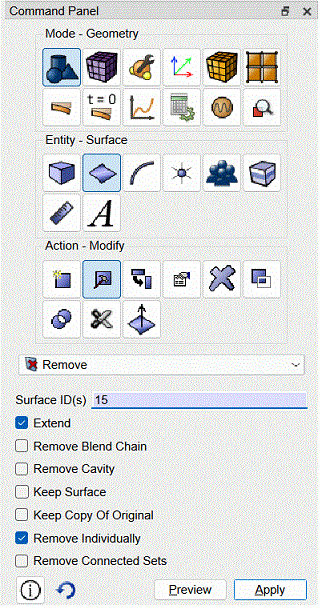
Fig. 28 - View of the Command Panel for deleting a small surface 15.
After deleting the small surfaces, the geometric model takes on the following appearance:
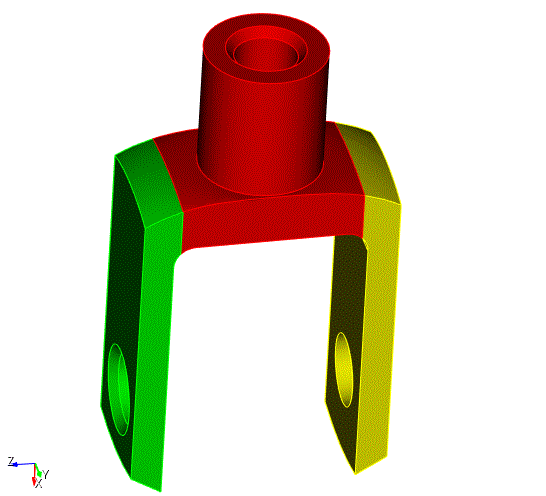
Fig. 29 - Geometric model after removal of small surfaces.
Note that in the list of existing problems there is a new category: Overlapping surfaces, consisting of two pairs of surfaces: Surface 36 - Surface 40 and Surface 32 - Surface 28. This category is caused by the creation of two new surfaces for each of the model cuts made in the previous step. They can be removed using the Project/Merge function, which is described in step 9.

