Search the documentation
Enter at least 2 characters
Enter at least 2 characters
 |
CAE Fidesys 9.0 Documentation |
1. Enter the commands at the command line:
reset
brick x 432 y 600 z 150
move Volume 1 x 216 y -300 include_merged
brick x {12*13} y {12*3} z 150
move Volume 2 x 216 y -550 include_merged
subtract volume 2 from volume 1 keep_tool
#{i=0}
#{n=3}
#{Loop(6)}
create Cylinder height 150 radius 6
move Volume {3+i} x {(5-2*i)*12+216} y -550 include_merged
#{i++}
#{EndLoop}
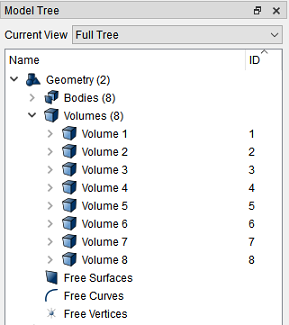
In the Model Tree on the left side you can see that 8 volumes have been created.
2. Subtract the cylinders from the brick.
On the command bar, select the module for constructing volume geometry (Mode - Geometry, Entity - Volume, Action - Boolean).
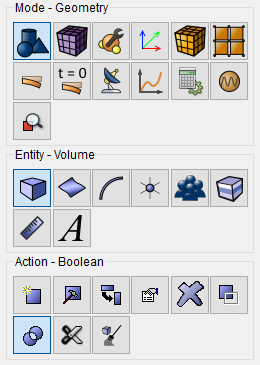
From the list select Subtract.
Set the following parameters:
A Volume ID(s): 2;
B Volume ID(s): 3 to 8;
Keep Originals;
Keep B.
Click Apply.
3. Merge all the volumes received. Enter the command at the command line:
merge all
1. Create a mesh for the 36 33 30 27 24 21 20 23 26 29 32 35 surfaces using the Automatic Sizing option.
On the command bar, select the surface mesh module (Mode - Mesh, Entity - Surface, Action – Intervals).
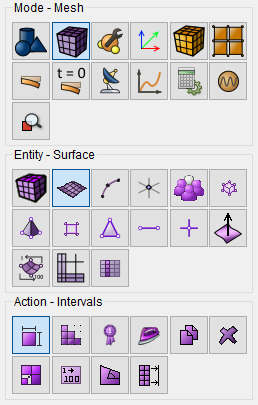
From the list of operations, select Automatic Sizing.
Set the following parameters:
Select Surfaces: 36 33 30 27 24 21 20 23 26 29 32 35;
Auto Factor: 7 (move the slider to 7).
Click Apply Size.
Click Mesh.
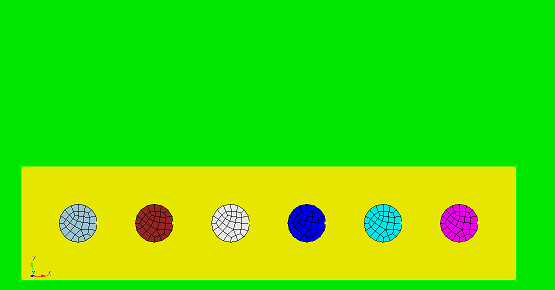
2. Create a mesh for the cylindrical volumes using the Tetmesh option. The mesh elements will be pyramids and tetrahedrons.
On the command bar, select the volume mesh module (Mode - Mesh, Entity - Volume, Action - Mesh).
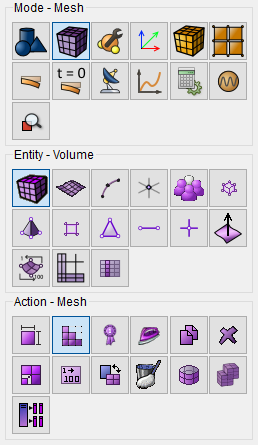
From the list of operations, select Tetmesh.
Set the following parameters:
Select Volumes: 3 to 8.
Click Apply Scheme.
Click Mesh.
3. Create a mesh for volume 2 using the Tetmesh option.
Set the following parameters:
Select Volumes: 2.
Click Apply Scheme.
Click Mesh.
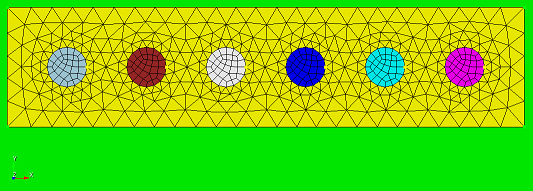
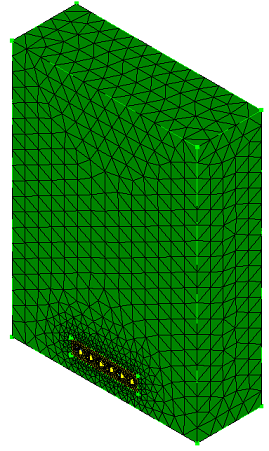
4. Create a mesh for volume 1 using the Tetmesh option.
Set the following parameters:
Select Volumes: 1.
Click Apply Scheme.
Click Mesh.
In the command bar, select the module for specifying material properties (Mode - Material, Entity – Materials Management).

Drag material Soil from the column Imported material to Material.
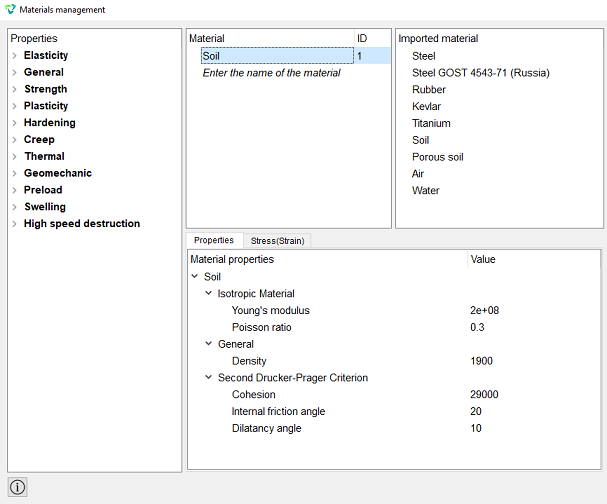
Click Apply.
Close the Materials management window.
1. To create 8 blocks for each volume copy this script to the Command Line:
set duplicate block elements off
#{i=1}
#{Loop(8)}
block {i} add volume {i}
#{i++}
#{EndLoop}
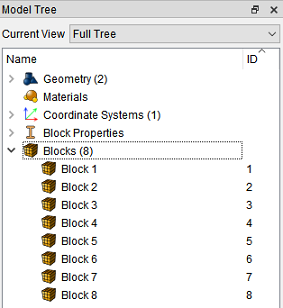
2. On the command bar, select the block management module (Mode - Blocks, Entity - Block, Action - Block properties/parameters).

Set the following parameters:
Block ID(s): all
Category: Solid;
Material: Soil;
Coordinate System: Global Cartesian;
Order: 1.
Click Apply.
1. Create gravity.
On the command panel, select the boundary conditions module (Mode - Boundary Conditions, Entity - Gravity, Action - Create).
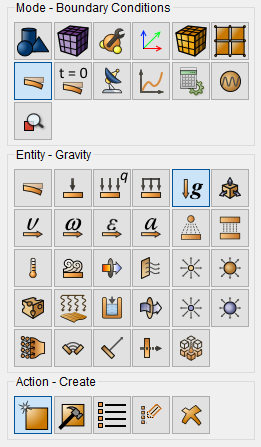
Set the following parameters:
Entity List: Global;
Directions Y: -9.8.
Click Apply.
2. Fix surfaces 4 and 6 along the X-axis.
On the command panel, select the boundary conditions module (Mode - Boundary Conditions, Entity - Displacement, Action - Create).

Set the following parameters:
Entity List: Surface;
Entity ID(s): 6 4;
Degrees Of Freedom: X.
Click Apply.
3. Fix surface 3 in all degrees of freedom.
Set the following parameters:
Entity List: Surface;
Entity ID(s): 3;
Degrees Of Freedom: Fix All.
Click Apply.
4. Fix surfaces 30 43 24 27 36 26 21 33 20 32 23 35 17 18 44 29 along the Z-axis.
Set the following parameters:
Entity List: Surface;
Entity ID(s): 30 43 24 27 36 26 21 33 20 32 23 35 17 18 44 29;
Degrees Of Freedom: Z.
Click Apply.
1. Set the type of the problem to be solved.
On the command bar, select the calculation settings module (Mode — Calculation Settings, Calculation Settings — Static, Static — General).

Select:
Dimensions: 3D;
Model: Elasticity;
Set Static Load Steps Count;
Load Steps Count: 7.
Next, click on  and fill out the Settings of loading
steps table as follows:
and fill out the Settings of loading
steps table as follows:
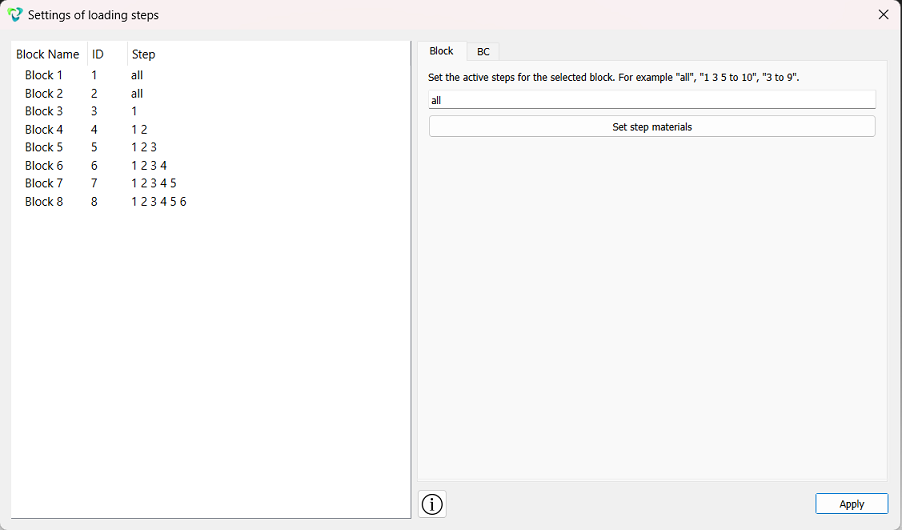
Click Apply.
Close the window and click Apply and Start Calculation.
2. In the window that appears, select the directory where the result will be saved and enter the file name.
3. In the case of a successful calculation, the console displays the message: Calculation finished successfully at "date" "time".
Open the file with the results. There are three ways to do that.
Click Ctrl+E.
From the main menu, select Calculation. Click Open Results.
Select Results on Command Panel (Mode - Results). Click Open results.

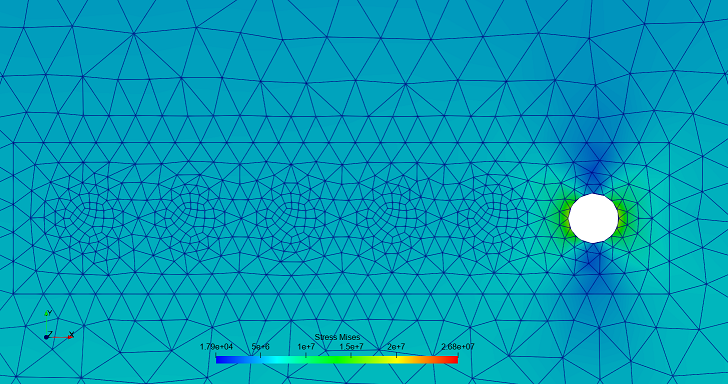
View the calculation results in the FidesysViewer window.
In the FidesysViewer window, on the toolbar, set the following parameters:
Display field: Stress;
Display component: Mises;
Display type: Surface With Edges.

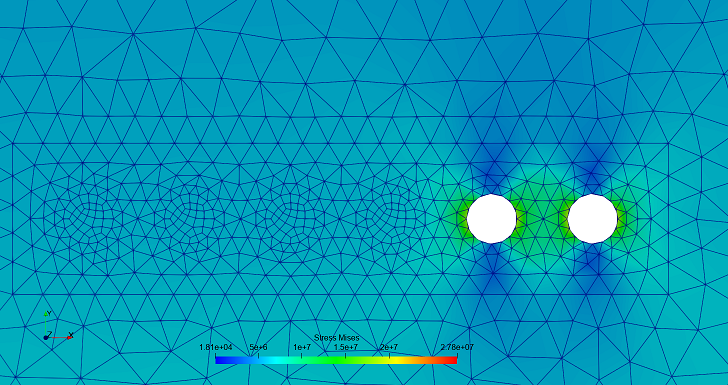
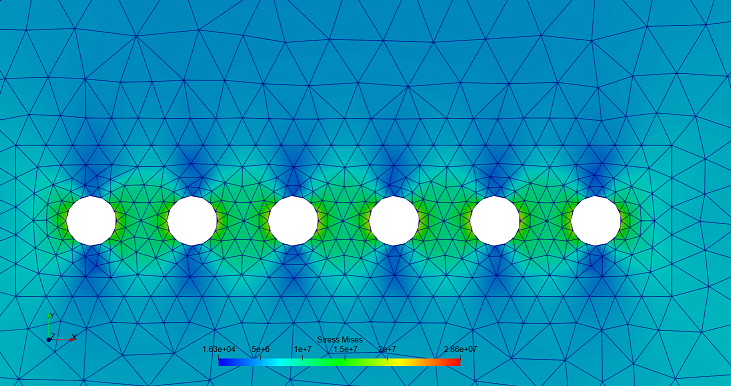
Next, switching steps from 1 to 7, display the process of removing output in the calculation process.



Geometry creating, meshing, setting boundary conditions and materials can be performed using the console interface. Below is a link to the program code that allows you to perform the steps described above manual, you only need to specify the full path and name.