Search the documentation
Enter at least 2 characters
Enter at least 2 characters
 |
CAE Fidesys 9.0 Documentation |
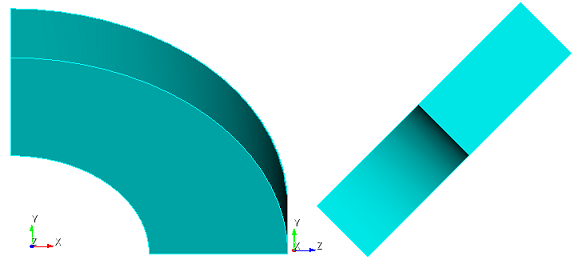
We consider a problem for a quarter of a cylindrical pipe under external and internal pressures.
The center of the model is located at point (1, 1, 1), while the model itself is tilted 45o relative to the X axis. For the symmetry condition, the boundary condition Directional constraint is used. It is proposed to estimate the resulting stresses in a cylindrical coordinate system.
1. Create the first circular cylinder.
On the command bar, select the module for constructing volume geometry (Mode - Geometry, Entity - Volume, Action - Create).

Select Cylinder from the list of geometric primitives.
Set the following parameters:
Height: 0.5;
Section type: Circular;
Radius: 2.
Click Apply.
2. Create the second cylinder.
Height: 0.5;
Section type: Circular;
Radius: 1.
Click Apply.
3. Subtract the second cylinder from the first one.
On the command bar, select the module for constructing volume geometry (Mode - Geometry, Entity - Volume, Action — Boolean).
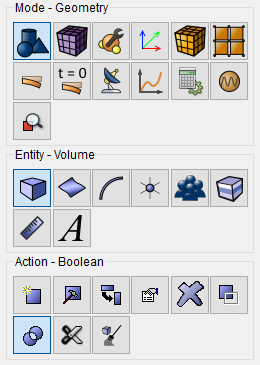
From the list of operations, select Subtract.
Set the following parameters:
Volume ID(s): 1 (volumes from which other volumes will be subtracted);
Volume ID(s): 2 (volumes to be subtracted).
Click Apply.
4. Leave a quarter of the volume (problem symmetry).
On the command bar, select the module for constructing volume geometry (Mode - Geometry, Entity - Volume, Action — Webcut).
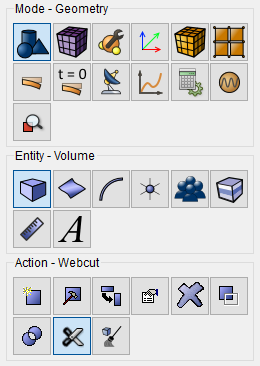
Select Coordinate Plane from the list of available section views.
Set the following parameters:
Volume ID(s): 1;
Cut Plane: YZ;
Offset Value: 0.
Click Apply.
Do the same, but in the plane ZX:
Volume ID(s): 1;
Cut Plane: ZX;
Offset Value: 0.
Click Apply.
As a result, the original volume in the entity tree will be divided by four (Volume 1, Volume 3 и Volume 4).
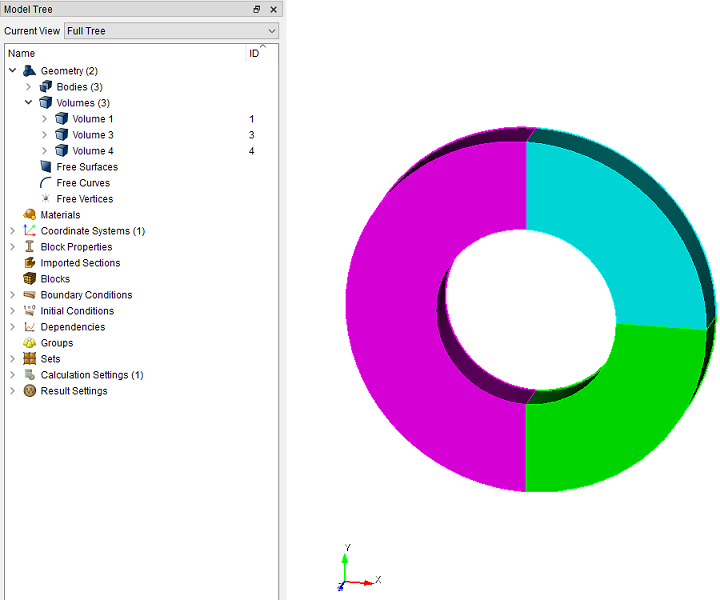
Delete volumes 1 and 3. To do this, hold down the Ctrl key, select these volumes in the model tree and click Delete in the context menu. As a result, a quarter of the original volume will remain (Volume 4).
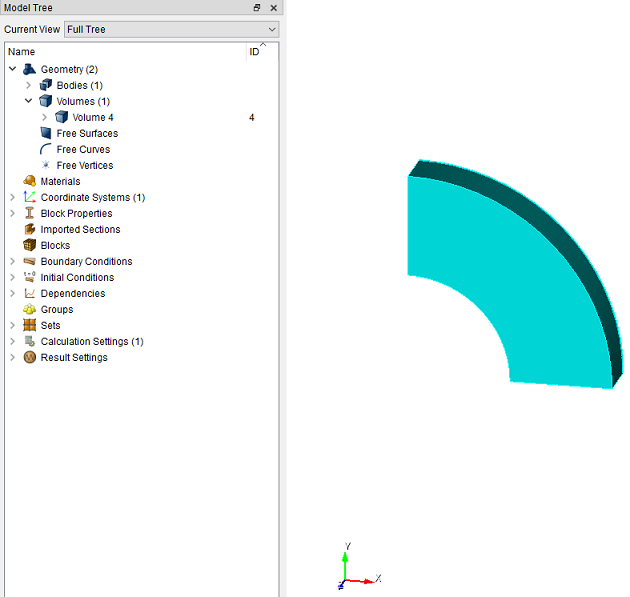
5. Rotate the model 45 degrees around the axis х.
On the command bar, select the module for constructing volume geometry (Mode - Geometry, Entity - Volume, Action — Transform).
From the list of possible transformations select Rotate.
Set the following parameters:
Volume ID(s): 4;
Include Merged;
Angle: 45;
Rotate About: X-Axis.
Click Apply.
6. Move the model.
On the command bar, select the module for constructing volume geometry (Mode - Geometry, Entity - Volume, Action — Transform).
From the list of possible transformations select Move.
Set the following parameters:
Volume ID(s): 4;
Include Merged;
Select Method: Distance;
X Distance: 1;
Y Distance: 1;
Z Distance: 1.
Click Apply.
Thus, a model of a quarter of a cylindrical pipe turned by 45o and centered at the point (1, 1, 1) has been constructed.
On the command bar, select the volume mesh module (Mode - Mesh, Entity - Volume, Action - Mesh).
Set the following parameters:
Automatically Calculate;
Select Volumes: 4.
Click Apply Scheme.
Click Mesh.
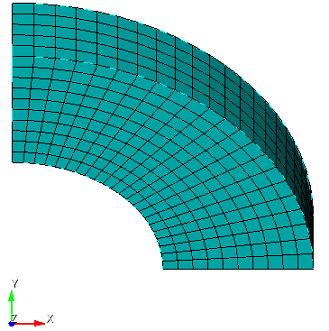
1. Set up a link by direction for surface 11.
On the command panel, select the boundary conditions module (Mode - Boundary Conditions, Entity — Direction Restraint, Action - Create).
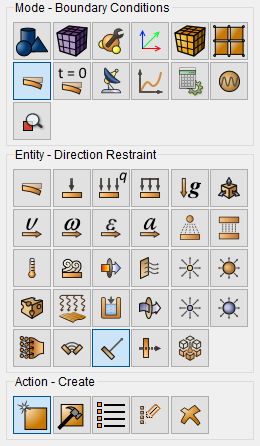
Set the following parameters:
Entity List: Surface;
Entity ID(s): 11;
Type: Displacement;
Direction: Normal;
Value: 0.
Click Apply.
2. Set up a link by direction for surface 27.
On the command panel, select the boundary conditions module (Mode - Boundary Conditions, Entity — Direction Restraint, Action - Create).
Set the following parameters:
Entity List: Surface;
Entity ID(s): 27;
Type: Displacement;
Direction: Normal;
Value: 0.
Click Apply.
3. Set up a link by direction for surface 29.
On the command panel, select the boundary conditions module (Mode - Boundary Conditions, Entity — Direction Restraint, Action - Create).
Set the following parameters:
Entity List: Surface;
Entity ID(s): 29;
Type: Displacement;
Direction: Normal;
Value: 0.
Click Apply.
4. Set up a link by direction for surface 31.
On the command panel, select the boundary conditions module (Mode - Boundary Conditions, Entity — Direction Restraint, Action - Create).
Set the following parameters:
Entity List: Surface;
Entity ID(s): 31;
Type: Displacement;
Direction: Normal;
Value: 0.
Click Apply.
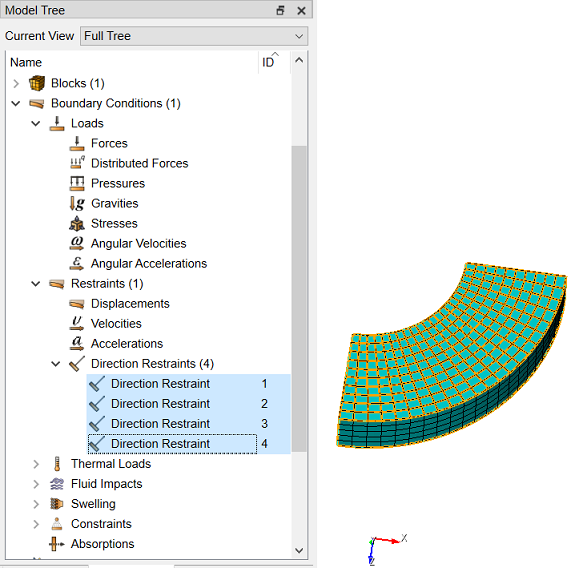
5. Apply pressure to the inner edge.
On the command panel, select the boundary conditions module (Mode - Boundary Conditions, Entity — Pressure, Action - Create).
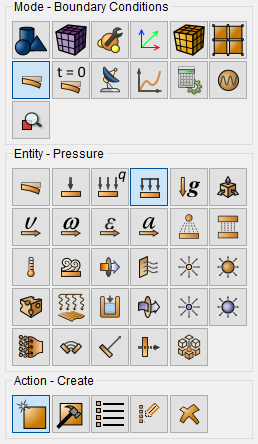
Set the following parameters:
Entity List: Surface;
Entity ID(s): 30;
Value: 1e6.
Click Apply.
6. Apply pressure to the top edge.
On the command panel, select the boundary conditions module (Mode - Boundary Conditions, Entity — Pressure, Action - Create).
Set the following parameters:
Entity List: Surface;
Entity ID(s): 28;
Value: 0.5e6.
Click Apply.
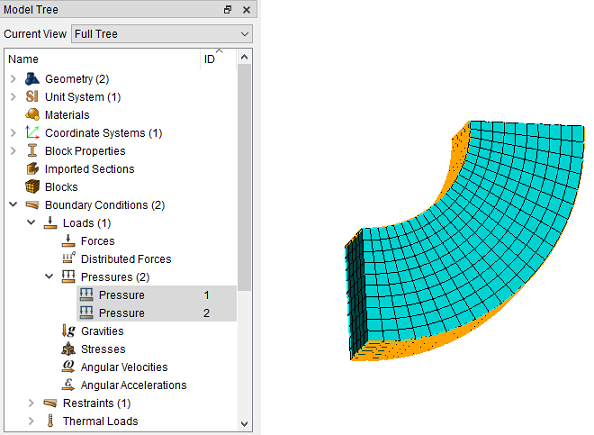
In the command bar, select the module for specifying material properties (Mode - Material, Entity - Material Management).

Specify the material name Material 1.
Drag the Isotropic Material label from the left column to the Material Properties column.
Set the following parameters:
Young's modulus Е = 2е+11;
Poisson ratio ν = 0.3.
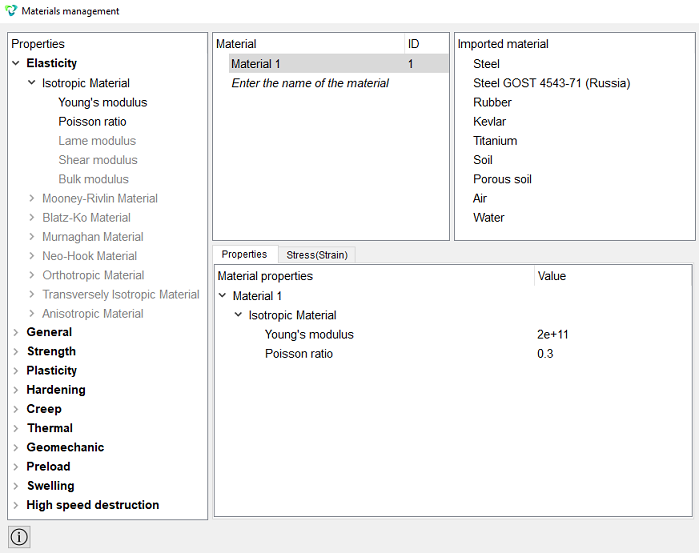
Click Apply.
Close the Materials management window.
1. Create a block of one material type.
On the command bar, select the block management module (Mode - Blocks, Entity - Block, Action - Add).

Set the following parameters:
Block ID: 1;
Entity List: Volume;
Entity ID(s): 4.
Click Apply.
2. Set the block parameters.
On the command bar, select the block management module (Mode - Blocks, Entity - Block, Action - Block properties/parameters).

Set the following parameters:
Block ID(s): 1;
Category: Solid;
Material: Material 1;
Coordinate System: Global Cartesian;
Order: 2.
Click Apply.
1. Set the type of problem you need to solve.
On the command bar, select the calculation settings module (Mode - Calculation Settings, Calculation Settings - Static, Static - General).

Select:
Dimensions: 3D;
Model: Elasticity.
Click Apply.
Click Start Calculation.
2. In the window that appears, select the directory where the result will be saved and enter the file name.
3. In the case of a successful calculation, the console displays the message: Calculation finished successfully at "date" "time".
1. Open the file with the results. There are three ways to do that.
Click Ctrl+E.
From the main menu, select Calculation. Click Open Results.
Select Results on Command Panel (Mode - Results). Click Open results.

The FidesysViewer window will appear, in which you can view the calculation results.
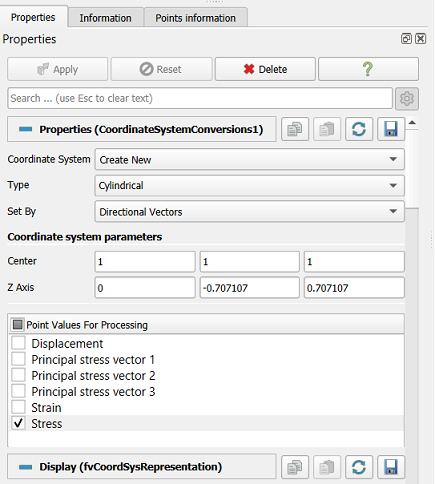
To view stresses in a cylindrical coordinate system, connect the Coordinate systems filter and enter the appropriate parameters.
Select in the top line Filter - Alphabetical - Coordinate System Conversions.
In the filter that appears on the Properties page, enter:
Coordinate System: Create New;
Type: Cylindrical;
Set By: Directional Vectors.
Set the parameters of the coordinate system:
Center: (1, 1, 1);
Z Axis: (0, -0.707107, 0.707107);
Point Values For Processing: Stress.
Click Apply.
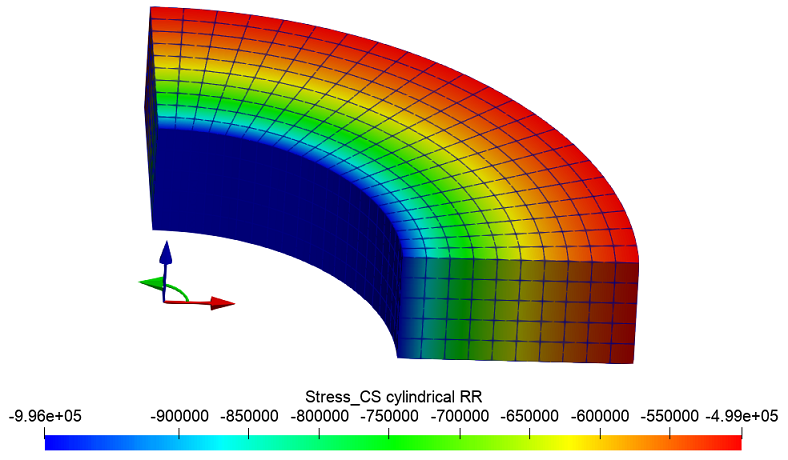
Next, display the Stress CS cylindrical RR on the model. To do this, select the appropriate component:

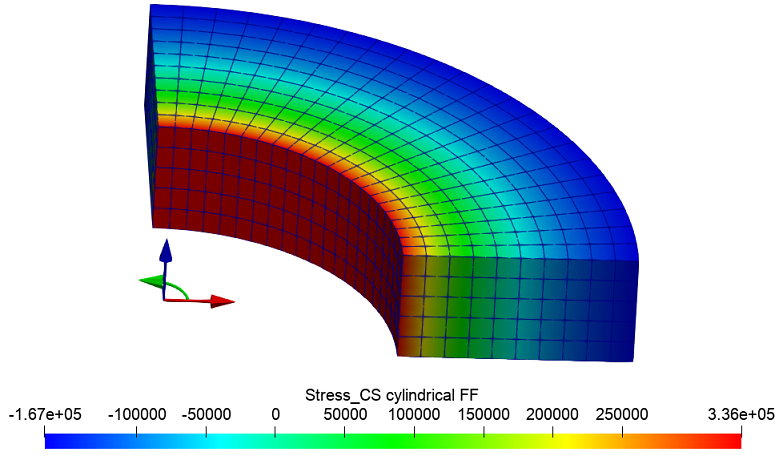
Next, display the Stress CS cylindrical FF:
Geometry creating, meshing, setting boundary conditions and materials can be performed using the console interface. Below is a link to the program code that allows you to perform the steps described above manual, you only need to specify the full path and name.