Search the documentation
Enter at least 2 characters
Enter at least 2 characters
 |
CAE Fidesys 9.0 Documentation |
A problem with a force fixed in a node is considered. In this case , the node is outside of the main model. Geometric model of the problem: a parallelepiped with sides 1*1*0,25 . The boundary conditions are shown in the picture, in a node free from the main model, a force Fx = 150000000 is applied. One of the sides of the model is rigid fixed. Material parameters E = 2e11 psi, v = 0.3.
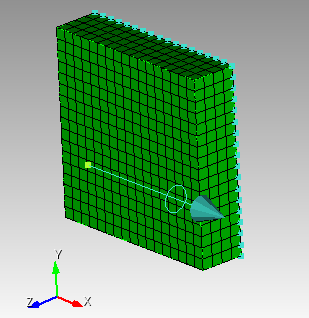
1. Create a parallelepiped.
On the command bar, select the module for constructing volume geometry (Mode - Geometry, Entity - Volume, Action - Create).

From the list of geometric primitives, select Brick.
Set the following parameters:
X (width): 1;
Y (height): 1;
Z (depth): 0.25.
Click Apply.
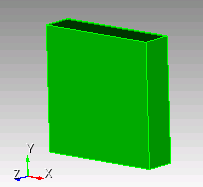
1. Create a mesh for the parallelepiped.
On the command bar, select the volume mesh module (Mode - Mesh, Entity - Volume, Action - Intervals).
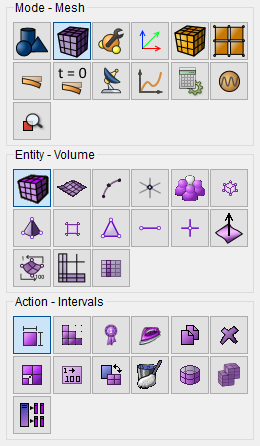
From the pop-up list, select Automatic Sizing.
Set the following parameters:
Select Volumes: 1;
Auto Factor: 5.
Click Apply Size.
Click Mesh.
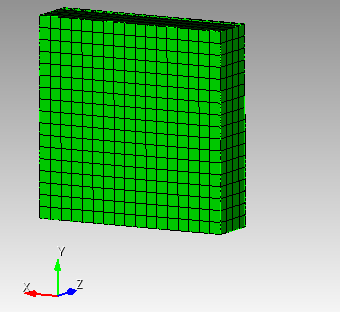
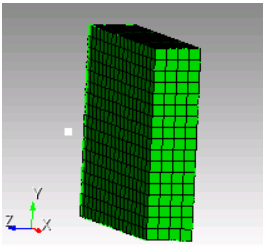
2. Create a separately located node.
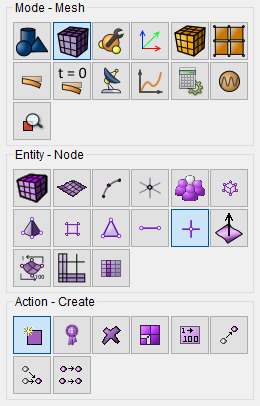
On the command bar, select the mesh module (Mode - Mesh, Entity - Node, Action — Create).
Enter the coordinates:
X Coordinate: 0;
Y Coordinate: 0;
Z Coordinate: 0.4;
Uncheck: Assign Node to Geometry.
Click Apply.
1. Specify the material.
In the command bar, select the module for specifying material properties (Mode - Material, Entity - Materials Management).

From the right column, drag the material Steel into the column Material.
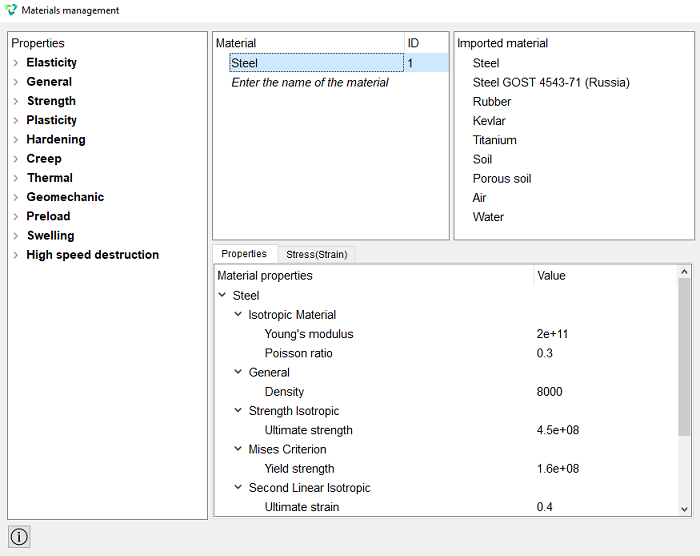
Click Apply.
Close the Materials management window.
2. Create the first block for the parallelepiped.
On the command bar, select the block management module (Mode — Blocks, Entity - Block, Action - Add).

Set the following parameters:
Entity List: Volume;
Entity ID(s): 1.
Click Apply.
Close the materials window.
3. Create a second block for a separate node.
On the command bar, select the block management module (Mode — Blocks, Entity - Block, Action - Add).
Set the following parameters:
Entity List: Node;
Entity ID(s): 1621.
Click Apply.
4. Set the parameters for the first block.
On the command bar, select the block management module (Mode - Blocks, Entity - Block, Action - Block properties/parameters).

Set the following parameters:
Block ID(s): 1;
Category: Solid;
Material: Steel;
Coordinate System: Global Cartesian;
Order: 1.
Click Apply.
5. Set the parameters for the second block.
On the command bar, select the block management module (Mode - Blocks, Entity - Block, Action - Block properties/parameters).
Set the following parameters:
Block ID(s): 2;
Category: Point.
Click Apply.
1. Secure the surface 2 for all movements and rotations.
On the command panel, select the boundary conditions module (Mode - Boundary Conditions, Entity - Displacement, Action — Create).

Set the following parameters:
Entity List: Surface;
Entity ID(s): 2;
Degrees of Freedom: All;
DOF Value: 0.
Click Apply.
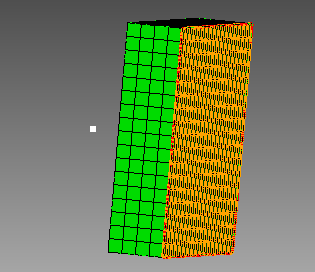
2. Set the force in the free node 1621.
On the command panel, select the boundary conditions module (Mode - Boundary Conditions, Entity - Force, Action — Create).
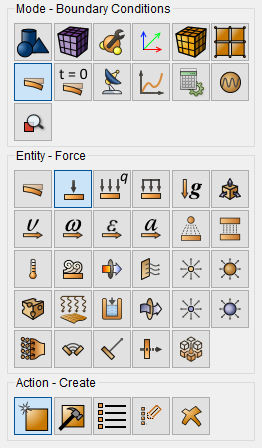
Set the following parameters:
Force Entity List: Node;
Entity ID(s): 1621;
Force: 150000000;
Direction: 1 0 0.
Click Apply.
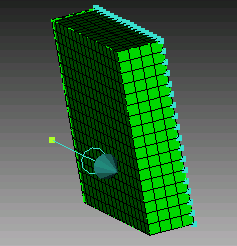
3. Set the connection between the free node and the nearest surface.
On the command panel, select the boundary conditions module (Mode - Boundary Conditions, Entity - Coupling Constraint, Action — Create).
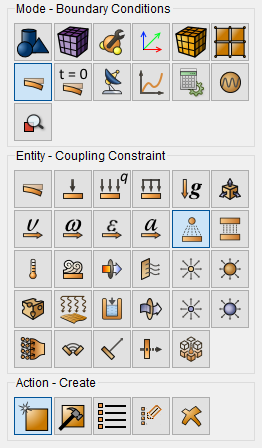
Set the following parameters:
From the drop down list select: Auto selection of the nearest pairs;
Master Entity - Entity List: Node;
Entity ID(s): 1621;
Slave Entity - Entity List: Surface;
Entity ID(s): 1;
From the drop down list select: Distance between entities.
Click Apply.
1. Specify the type of task you want to solve.
On the command bar, select the calculation settings module (Mode - Calculation Settings, Calculation Settings — Static, Static — General).

Select:
Dimension: 3D;
Model: Elasticity.
Click Apply.
Click Start Calculation.
2. In the window that appears, select the directory where the result will be saved.
3. In the case of a successful calculation, the console displays the message: Calculation finished successfully at "date" "time".
1. Open the file with the results. There are three ways to do that.
Click Ctrl+E.
From the main menu, select Calculation. Click Open Results.
Select Results on Command Panel (Mode - Results). Click Open results.

A window will appear FidesysViewer, in which you can read with the results of the calculation.
2. In the upper panel, select the calculation result data to display. From the first drop-down list, select Displacement, from the second – X.

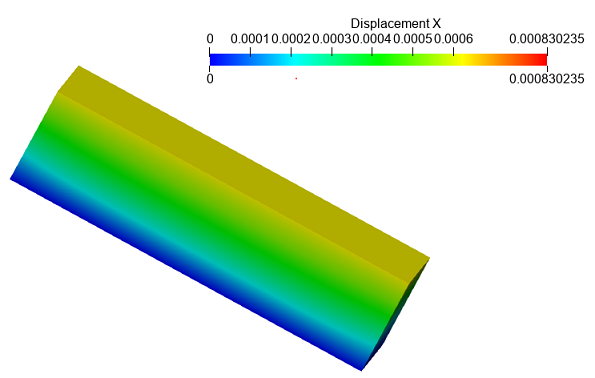
Geometry creating, meshing, setting boundary conditions and materials can be performed using the console interface. Below is a link to the program code that allows you to perform the steps described above manual, you only need to specify the full path and name.