Search the documentation
Enter at least 2 characters
Enter at least 2 characters
 |
CAE Fidesys 9.0 Documentation |
Consider the problem of loading a solid body for which Young's modulus varies with depth (coordinate z).
1. Create the first brick.
On the command bar, select the module for constructing volume geometry (Mode — Geometry, Entity — Volume, Action — Create).

From the list of geometric primitives, select Brick.
Set block sizes:
X (width): 100.
Click Apply.
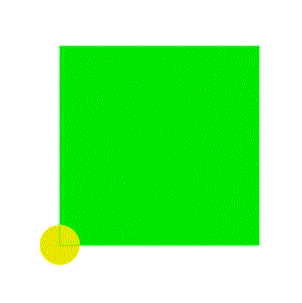
2. Move brick to the origin of CS.
It is required to move the volume so that one of the vertices is at the beginning coordinates.
On the command bar, select the module for constructing volume geometry (Mode — Geometry, Entity — Volume, Action — Transform).
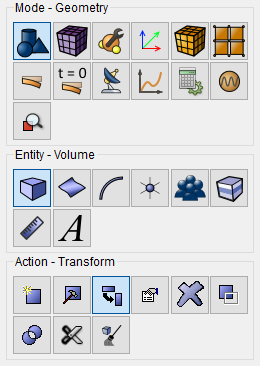
From the list of possible transformations, select Move.
Set the parameters:
Volume ID(s): 1;
Including Merged: uncheck;
Select Method: Distance;
X Distance: -50;
Y Distance: -50;
Z Distance: -50.
Click Apply.
3. Create the circular cylinder.
Make a volume cut using the slave cylinder.
On the command bar, select the module for constructing volume geometry (Mode — Geometry, Entity — Volume, Action — Create).
Select Cylinder in the list of geometric elements.
Specify the cylinder dimensions:
Height: 200;
Radius: 10.
Click Apply.
4. Subtract the cylinder from the brick.
On the command bar, select the module for constructing volume geometry (Mode — Geometry, Entity — Volume, Action — Boolean).
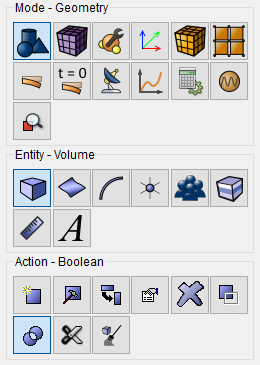
Select Subtract in the list of operations.
Set the following parameters:
A Volume ID(s): 1 (the volumes to be subtracted);
B Volume ID(s): 2 (volumes from which other volumes will be subtracted).
Click Apply.
1. On the command bar, select the volume mesh module (Mode — Mesh, Entity — Volume, Action — Intervals).
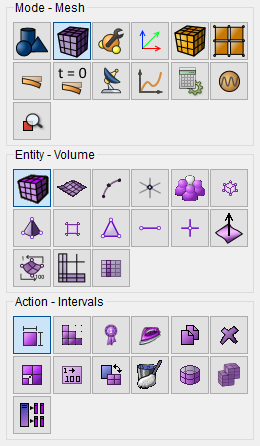
Set the following parameters:
Approximate Size;
Select Volumes: 1;
Approximate Size: 5.
Click Apply.
2. On the command bar, select the volume mesh module (Mode — Mesh, Entity — Volume, Action — Mesh).
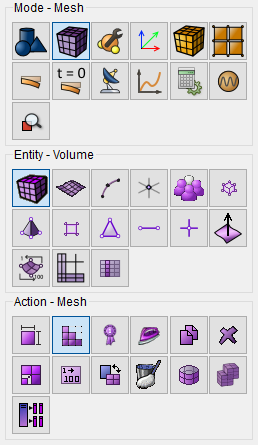
Set the following parameters:
Polyhedron;
Select Volumes: 1.
Click Apply Scheme.
Click Mesh.
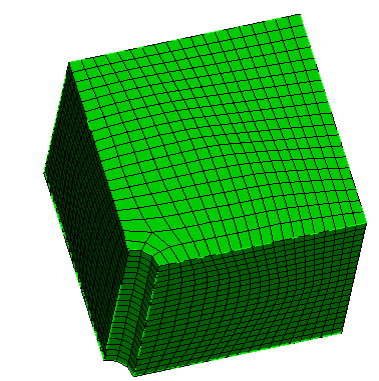
3. On the command bar, select the volume mesh module (Mode — Mesh, Entity — Volume, Action — Refine).
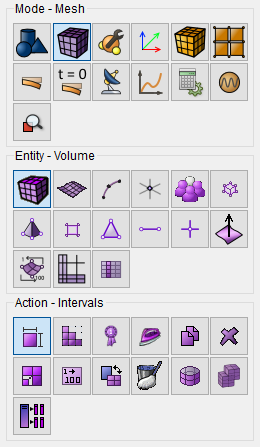
Set the following parameters:
General Refinement;
Volume ID(s): 1.
Click Apply.
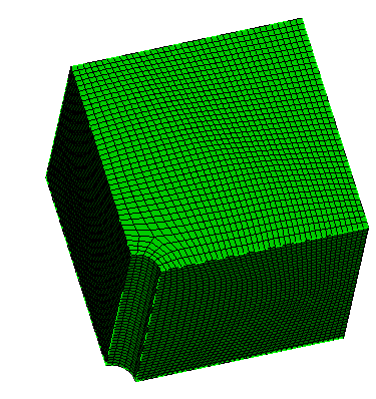
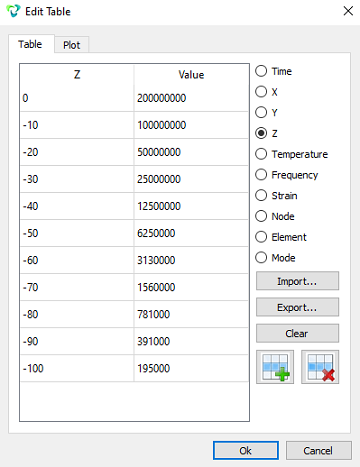
Create excel file. Enter the table dependence for Young's modulus on the z coordinate.
| 0 | 2.00E+08 |
| -10 | 1.00E+08 |
| -20 | 5.00E+07 |
| -30 | 2.50E+07 |
| -40 | 1.25E+07 |
| -50 | 6.25E+06 |
| -60 | 3.13E+06 |
| -70 | 1.56E+06 |
| -80 | 7.81E+05 |
| -90 | 3.91E+05 |
| -100 | 1.95E+05 |
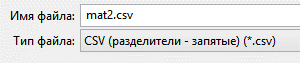
Save the file with csv extension.
In the command bar, select the module for specifying material properties (Mode – Material Entity – Materials Management).

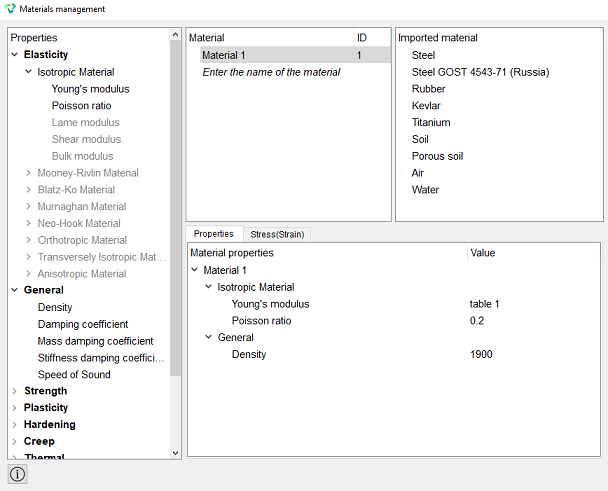
In the Materials Management window that open follow these steps:
Enter the name of the material.
Drag a Isotropic material to the Materials column.
For Young's module, select a table assignment (click the ellipsis).
In the table editing window check the Z-constraint box.
Select "Import Tables" and browse to the saved CSV file.
Click OK.
Poisson ratio: 0.2.
Density: 1900.
Click Apply.
Close the Materials management window.
1. Create the block of one type of the material.
On the command bar, select the block management module (Mode – Blocks, Entity – Block, Action – Add).

Set the following parameters:
Block ID;
Entity List: Volume;
Entity ID(s): all.
Click Apply.
2. Set the block parameters.
On the command bar, select the block management module (Mode - Blocks, Entity - Block, Action - Block properties/parameters).

Set the following parameters:
Block ID(s): 1;
Category: Solid;
Material: Material 1;
Coordinate System: Global Cartesian;
Order: 1.
Click Apply.
1. Fix curves 7 and 8 along the normal.
On the command panel, select the boundary conditions module (Mode — Boundary Conditions, Entity — Direction Restraint, Action — Create).
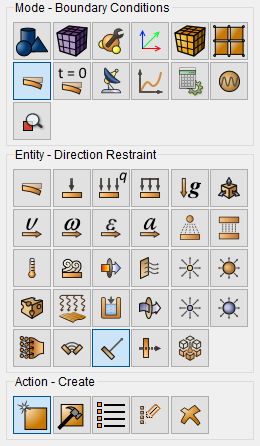
Set the following parameters:
Entity List: Surface;
Entity ID(s): 14 12 13;
Type: Displacement;
Direction: Normal;
Value: 0.
Click Apply.
2. Set the gravity force.
On the command panel, select the boundary conditions module (Mode — Boundary Conditions, Entity — Gravity, Action — Create).
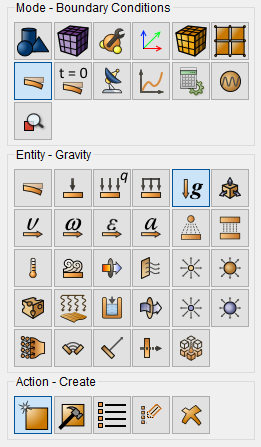
Set the following parameters:
Entity List: Global;
Directions Z: -9.81.
Click Apply.
1. Set the type of the problem to be solved.
On the command bar, select the calculation settings module (Mode — Calculation Settings, Calculation Settings — Static, Static — General).

Select:
Dimension: 3D;
Model: Elasticity.
Click Apply.
2. Go to the settings section for Output Fields.
On the command bar, select the calculation settings module (Mode — Calculation Settings, Calculation settings — Static, Static — Output Fields).
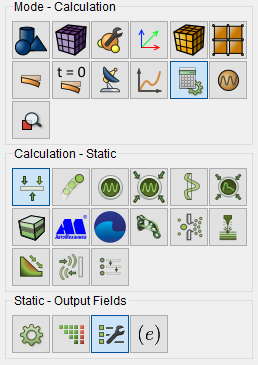
Put a tick Material Properties.
Click Apply.
Click Start Calculation.
3. In the window that appears, select the directory where the result will be saved and enter the file name.
4. In the case of a successful calculation, the console displays the message: Calculation finished successfully at "date" "time".
1. Open the file with the results. There are three ways to do that.
Click Ctrl+E.
From the main menu, select Calculation. Click Open Results.
Select Results on Command Panel (Mode - Results). Click Open results.

The FidesysViewer window will appear, in which you can view the calculation results.
2. Display the Young's modulus for the model.

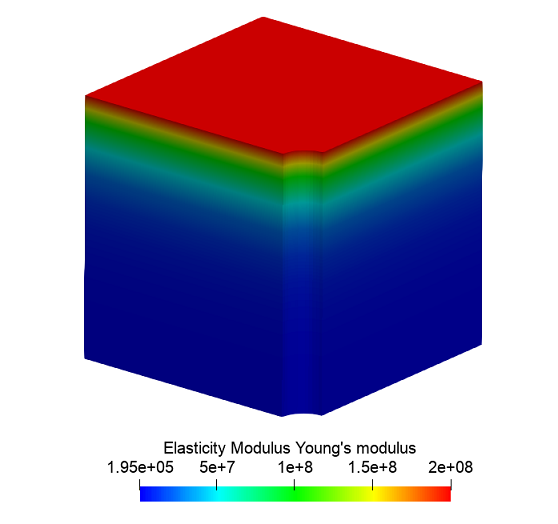
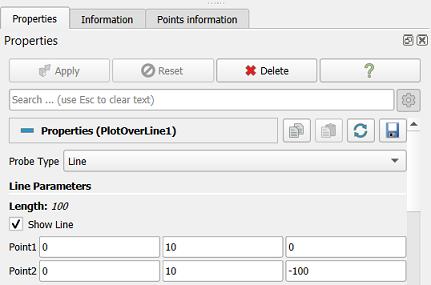
3. Plot the graph in Young's modulus in height.
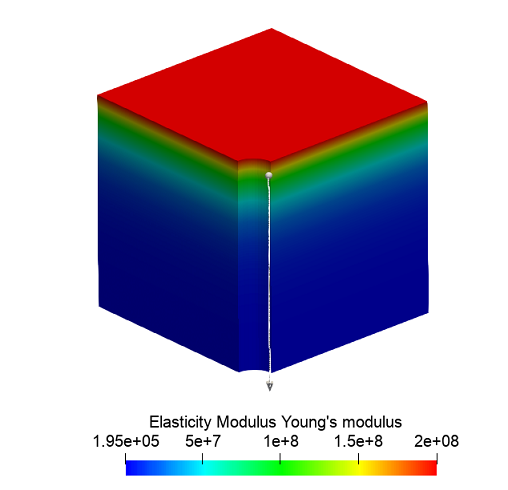
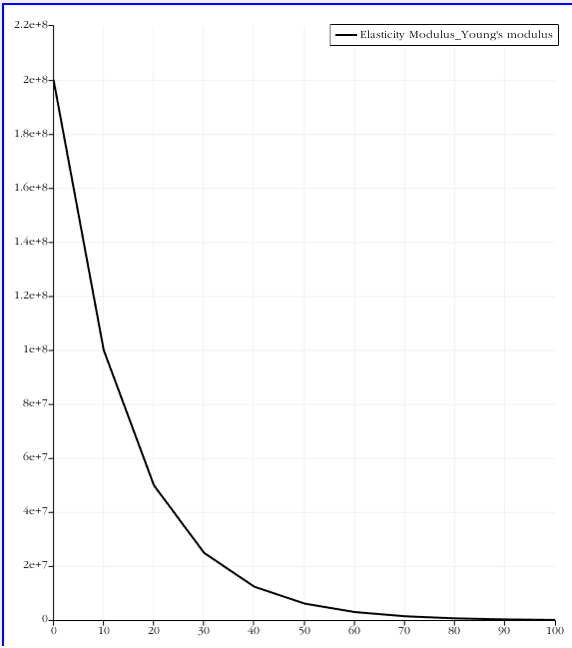
Geometry creating, meshing, setting boundary conditions and materials can be performed using the console interface. Below is a link to the program code that allows you to perform the steps described above manual, you only need to specify the full path and name.